As you migrated from WordPress caching plugin QuickCache to ZenCache, did caching stop working. We have been using Quickcache as our default WordPress caching plugin for several years now. Now QuickCache has stopped updates and is migrating to ZenCache, so bloggers need to switch their WordPress caching plugin to continue getting updates.
QuickCache to ZenCache
While there is a pro version, we use the free plugin version which has great features which suffices for our blog. If you install Zencache, it will automatically detect and import all QuickCache settings and deactivate QuickCache. While I thought and as they claim, it should work well – but my files were not being cached. I realized this after a few days when the site seems slower.
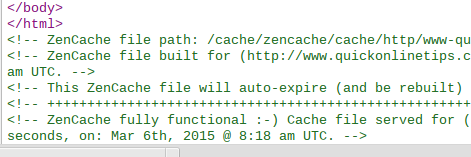
How do I know? I always allow WordPress caching plugins to show the code in HTML, so a page in which caching is working correctly should display code like this at the bottom of the page.

No WordPress Caching
Since the code was not displaying after I ‘view page source” the code in the browser, I realized that ZenCache was not working. While I tried all settings etc, I could not find a reason. Zencache was set to enable caching.

Then I logged into the server via FTP (I use Filezilla), and browsed to /wp-content/cache/zencache/ and it was empty! So the plugin was not storing cached files.
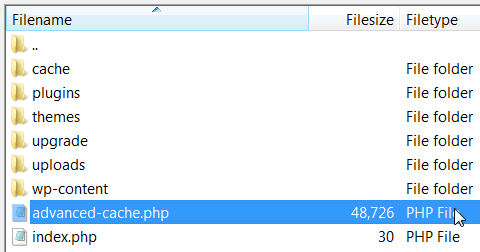
Then here is what I did … An important file which makes these plugins work is advanced-cache.php and it is located in /wp-content/. I checked its file size and it was now 0 kb. I downloaded it and it was empty with no content.
Then I disabled the ZenCache caching functions from the WordPress plugin settings. Deleted the advanced-cache.php file from the server via FTP. Reactivated the caching from ZenCache settings, and a new file was recreated automatically … it had content!

And Zencache started working…. the code was back in view page source.
So if you recently switched from QuickCache to ZenCache and found no caching, I suggest you try this and this is how I got it working.