
My New Asus Chromebox Unboxing [Photos]
I bought a new Asus Chromebox and now share the Chromebox unboxing photos with you. Earlier I had shared chromebook unboxing photographs, And have since become a fan of the chrome OS. It’s incredible how these simple computers fulfill the need for most tasks we perform online nowadays. The browser has become the key to everything online.
I bought this Chromebox from Amazon USA, since the cost in Amazon India was pretty much higher. For a cheap price of $ 159 plus import duties plus shipping I was able to ship the chrome box from USA to India in just around $ 200. My old computer with Windows Vista was getting really slow and I was on the lookout to replace it with a reliable computer. I have been now able to replace my computer with the Chromebox. I already had a monitor, a wireless keyboard and mouse and a internet connection – so I simply needed to plug everything inside the Chromebox to get it working instantly.
Asus Chromebox unboxing photos
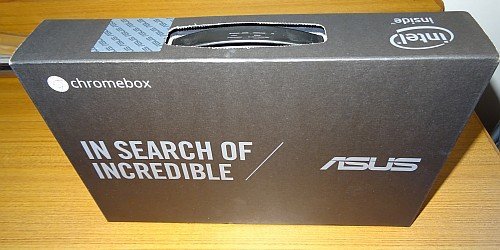
As I opened the cardboard box in which Amazon Shipped the Chromebox, Inside it was this beautiful black case which was titled Asus Chromebox and ‘In search of Incredible”. The Intel inside logo was prominently displayed.
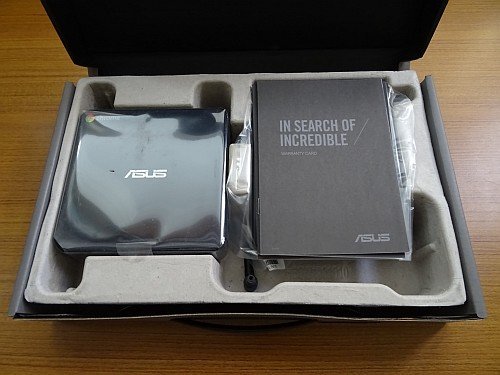
As I opened the box, inside lay the Chromebox on the left side, and documentation on the right side with quick start instructions, safety and warranty guide.
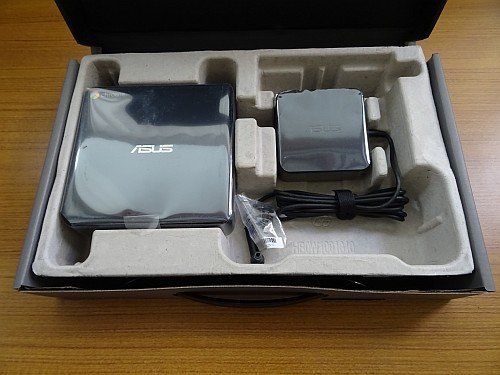
Below the instruction booklets, lay the compact charger which will be used to power the Chromebox.
As I did my Chromebox unboxing, I found the following items in the box, a nice addition being a plate to hang it on the wall or behind the monitor if required.
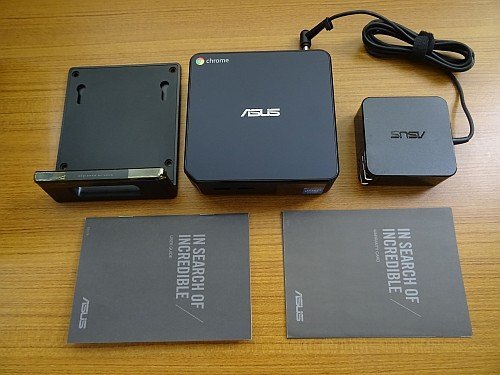
Well that’s how it looked like … Let me show how the Chromebox looks like from different angles.
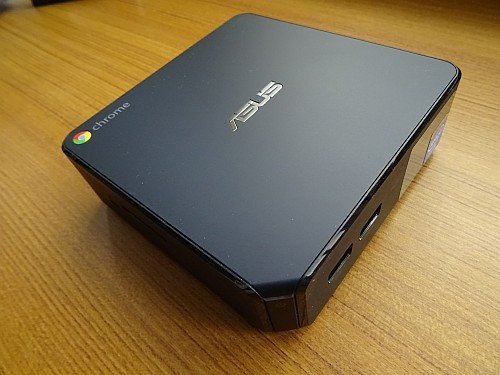
The Chromebox manages to fit in lots of stuff inside a small box. The quality is very high and the weight is very low. It’s easy to put on a backpack and carried along wherever you go. It features a full computer with so many ports that allows you to attach almost any computer accessory which you commonly use.
Let’s see what lies in front of the Chromebox – There is the power button on the side and two USB three ports in the front.
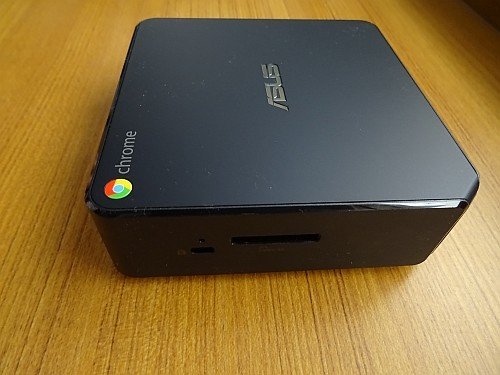
If you check the side, it displays a place for the Kensington lock to anchor your Chromebox to the table and an SD card reader.
If a look behind the Chromebox, There is the power inlet, an attachment for the LAN cable, more USB ports, HDMI port, display port and headphones outlet.

Now let’s go ahead and install the Chromebox and set it up.
Since the Chromebox shipped from the US, the plug pins were a little different from those in India. So I used an Multi pin adapter to fit in the charger and power the Chromebox. Since my old monitor did not have an HDMI port, I used an HDMI to VGA adapter to connect the monitor to the Chromebox.
I used my portable D-Link Wi-Fi access point router to create a local Wi-Fi from my wired connection as the Chromebox did not recognize the wired setup and start.
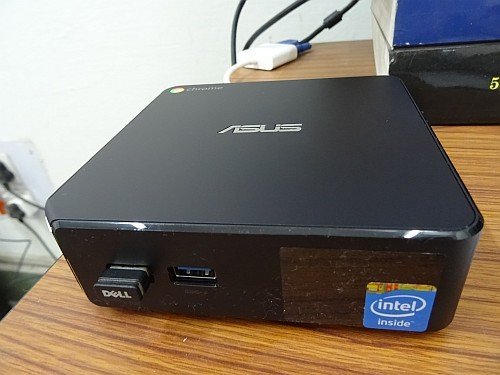
Here you can see I have inserted my Dell adapter in the front USB port to connect to my wireless Dell keyboard and mouse. Behind I have used the HDMI to VGA adapter to connect the monitor. What’s incredible is I have been able to use all my travel laptop accessories to power this Chromebox. Now simply turn on the power, and the Chromebox starts.
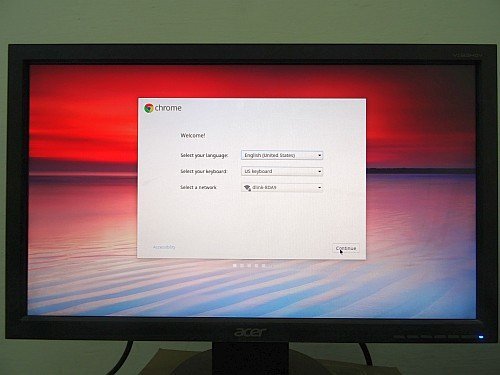
The beauty of the chrome system is it gives me the same experience every time across the Chromebox, Chromebook and the Chrome browser on any computer. So that is the Chromebox, and it is worth every penny you spend. BTW if you decide to buy it, for $50 extra you will get Asus wireless keyboard and mouse in the box.